Latest News
All about patches
All about patches
STEP BY STEP PATCH MAKING
Machine view
On your machine you will see different colors. Just use the same color as the one used for the outer rim/edge of the patch.These colors are only there to tell your machine the stops it needs to make between the different layers of the patch edge.
Step 1
Hooping
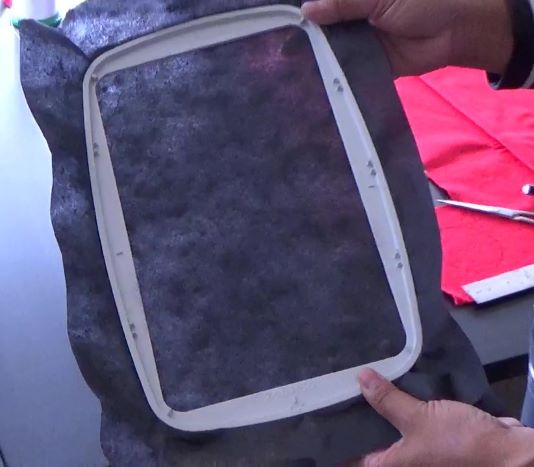
Firmly hoop a heavy, or two layers of medium tear away stabilizer in your hoop.
For cleaner edges water-soluble film may be used also. Just make sure it is very heavy water-soluble quality.Like the one used for free standing lace or a specific one for patches. If unsure, use two layers of medium weight.
Step 2
Placement stitch
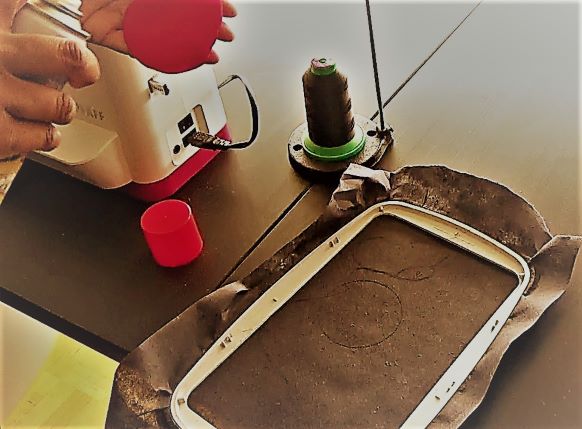
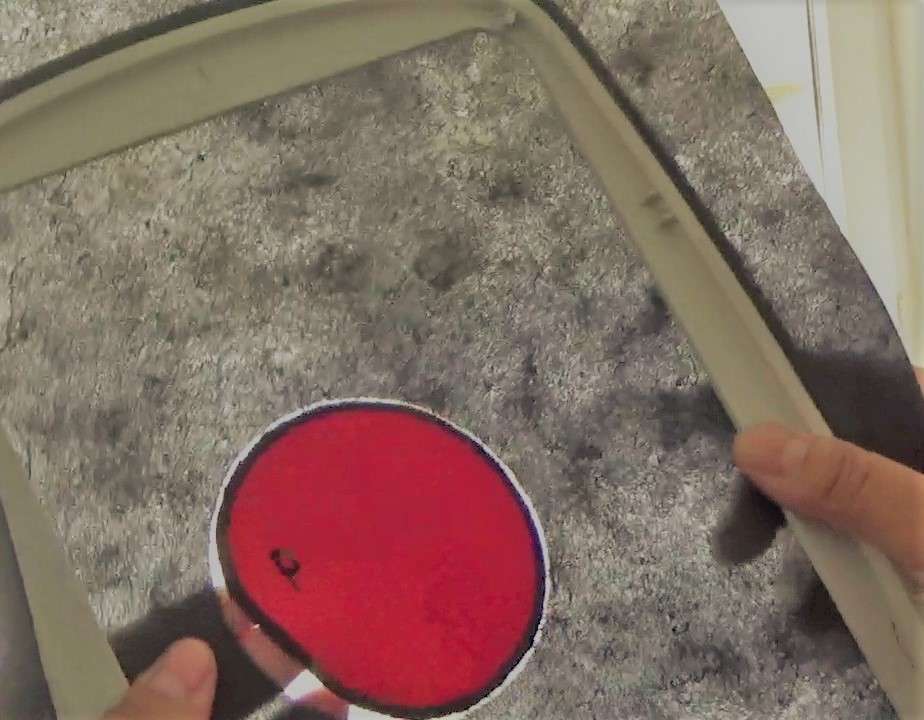
Place the hoop with the stabilizer in the machine. First round is the placement stitch. After this the machine will zoom out and stop .Now you can safely remove the hoop and place a pre-cut piece of fabric in the stitched area. Use some temporary spray on glue to secure. Or place a piece of fabric on top of the stabilizer before stitching the first round. After the first round ,remove the hoop and trim as close as possible to the edge of the stitches to remove excess fabric.
Step 3
Tack down round
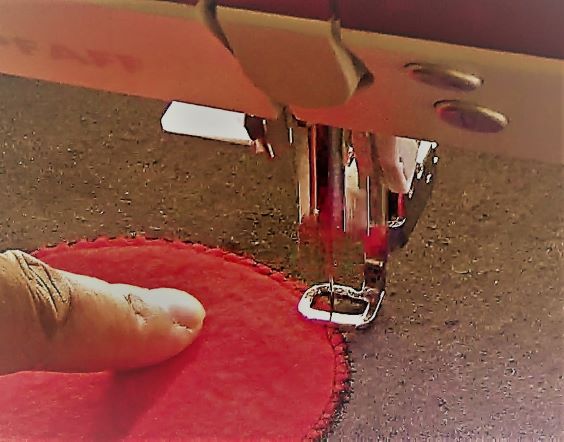
Place the hoop back in the machine with the stabilizer still hooped and the trimmed or pre-cut fabric on top of it.
The machine will now secure the fabric in place with a second round of stitches.
Another stop after this second round allows you to remove the hoop one last time for extra trimming if necessary. Place the hoop back again.
A third round of zig zag is now done to lay a base layer for the top stitches.
Step 4
Top edge layer and design
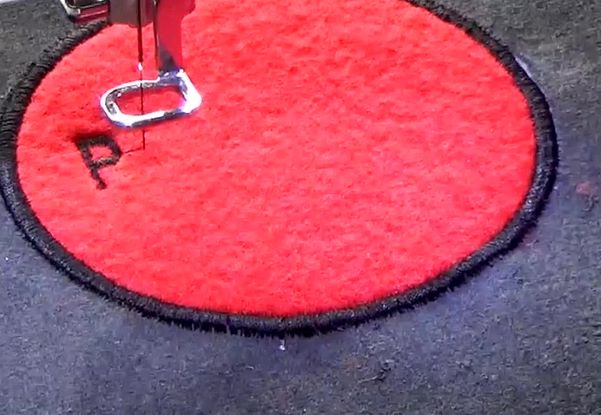
Now it’s time for the real work. The machine makes a final round with beautiful satin stitches that create the visible part of the outer rim of the patch.
The inside of the design is going to stitch out last.
Some designs let the design stitch out first before making the edge. But let’s be honest, we all make mistakes. It would be a waste of time and thread to finish a whole design only to make a mistake in the trimming at the end and mess up all that work. Stitching and trimming the edges first can quickly be re-done if things would not be as desired.
LAST STEP
Remove from hoop
And now all done!, gently push against the back of the finished patch.
It will easily tear away from the stabilizer due to the many rounds of stitches.
Keep in mind not to disturb the area while removing and putting the hoop back during the stops of the first steps. The needle punches holes in the stabilizer along the whole process. Rough handling may cause the patch to detach from the stabilizer base or shift slightly. Tip!:add an extra layer of stabilizer to the back of the design after the second round of stitches. Or use extra heavy stabilizer.Wash away the water soluble film or remove the little fluff from the edges with scissors or a quick pass with a lighter.


